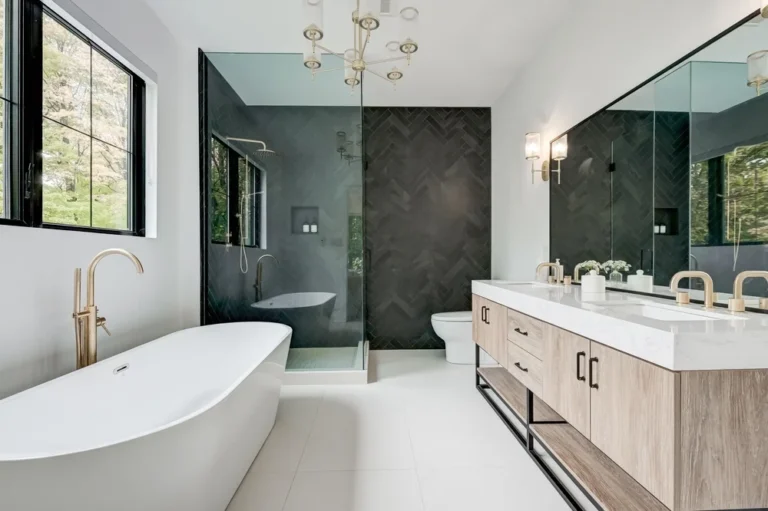
Mold and Water Damage Prevention Bathroom Remodeling
Mold and Water Damage Prevention Bathroom Remodeling is not just a catchy phrase. It is a homeowner’s lifeline when tackling one of the wettest rooms in the house. Steam from daily showers, splashes around the sink, and condensation on cold pipes create a setting where unseen puddles linger behind tile and under flooring. Left unchecked, moisture travels through hairline cracks, soaks insulation, and feeds colonies of spores that thrive in darkness. The financial cost of fixing structural decay is steep, but the health cost of breathing contaminated air over months is even higher. Starting your project with a clear plan to stop water migration means safeguarding your investment, protecting your family, and ensuring the bathroom remains a place of relaxation rather than worry. This guide walks you through each critical step, so the path from demolition to final grout line stays dry and mold free.
Why Bathrooms Breed Moisture Problems
Mold and Water Damage Prevention Bathroom Remodeling begins by understanding why bathrooms are trouble spots. Every bathing session pumps warm vapor into corners where air circulation stalls. Older exhaust fans may run for a few minutes, yet humidity can remain trapped in upper cabinets and behind mirrors long after lights switch off. Grout joints that appear solid actually absorb water like sponges, releasing it slowly into backer board each day. Even flawless plumbing is vulnerable, because fluctuating temperatures cause expansion that loosens seals over time. The small footprints of typical bathrooms mean fixtures crowd together, leaving limited space for airflow and inspection. When drywall, framing, and plumbing share tight quarters, a single slow leak can spread silently until paint blisters or flooring buckles. Recognizing these built-in challenges is the first step toward creating barriers that moisture cannot cross.
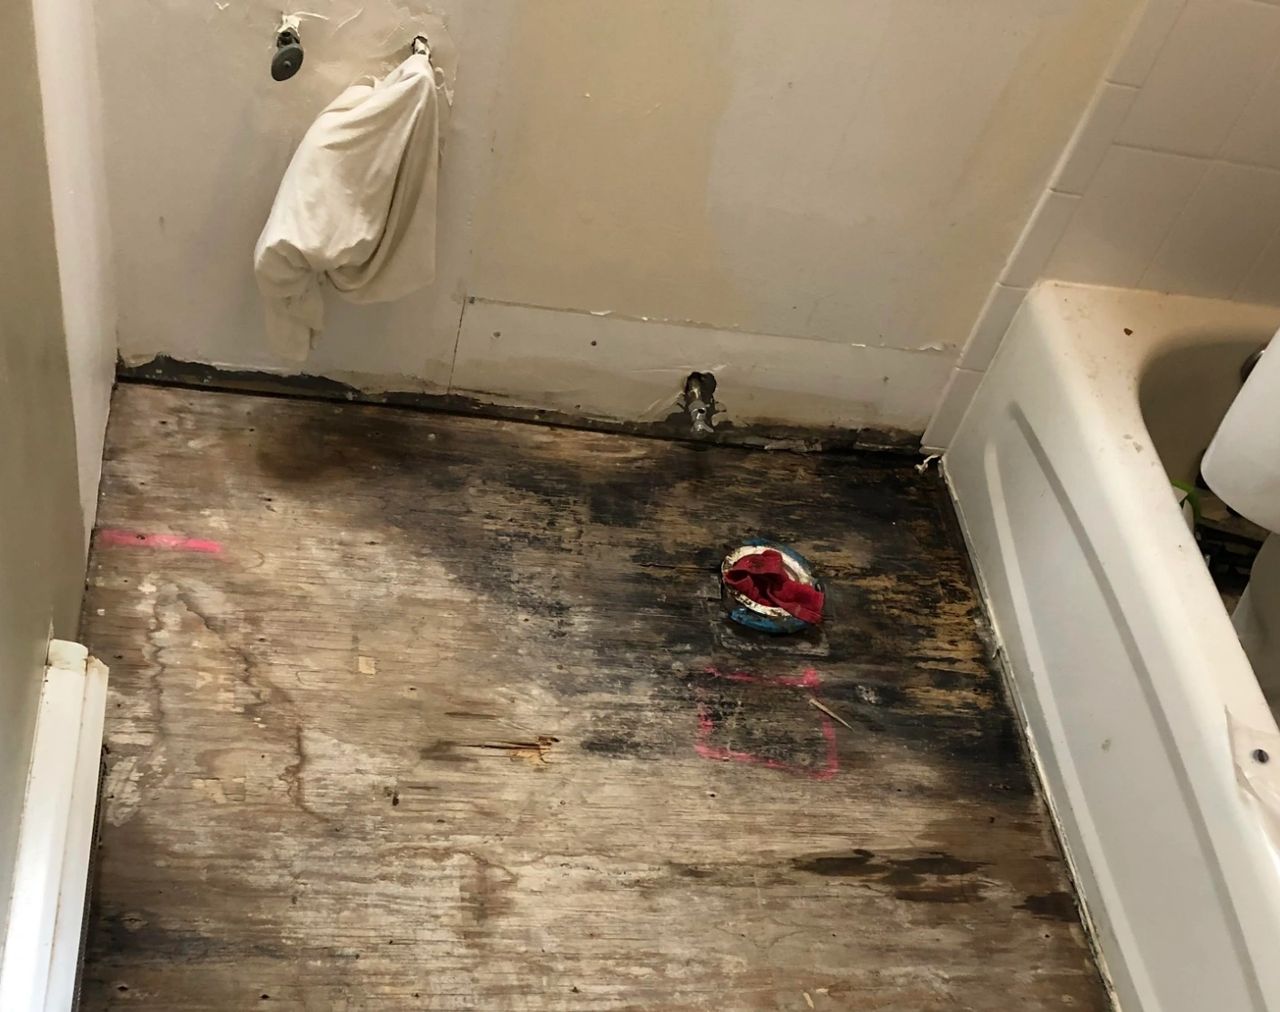
Warning Signs of Hidden Damage
A successful Mold and Water Damage Prevention Bathroom Remodeling effort depends on spotting early clues. You might notice a persistent earthy odor that air fresheners cannot mask, or faint yellow rings that reappear after repainting. Tile grout may darken at lower edges, hinting at moisture seeping behind walls. Doors start to stick as swollen jambs expand, and caulk lines crumble sooner than expected. Perhaps the ceiling below the bathroom shows a pale halo near a light fixture, suggesting water travel along wiring. Soft spots around the toilet base signal subfloor saturation. These indicators rarely arrive alone; they form a pattern that speaks of long-term dampness. By listening to those subtle whispers instead of waiting for dramatic leaks, you can intervene before damage demands a full gut renovation.
Health Impact of Indoor Mold
Mold and Water Damage Prevention Bathroom Remodeling is a health project as much as a construction one. Spores invisible to the naked eye drift on rising steam and settle in nasal passages, triggering sneezing, coughing, and itchy eyes. People with asthma experience tightened airways when exposed to chronic mold, and children inhale higher concentrations due to their shorter height near damp floors. Some fungi release toxins that cause headaches or fatigue, undermining quality of life without obvious cause. Bathrooms are small, enclosed spaces, so spore density increases faster than in larger rooms. Daily exposure, even for brief moments, can steadily erode respiratory wellness. Preventing moisture intrusion breaks this chain, keeping airways clear and mornings pleasant instead of congested.
Core Principles of Successful Prevention
Effective Mold and Water Damage Prevention Bathroom Remodeling rests on three principles: block water at the source, redirect unavoidable moisture to drains, and expel lingering humidity quickly. Blocking begins with continuous waterproof membranes on walls and floors that stop droplets from penetrating porous materials. Redirection relies on slopes that guide runoff into the drain rather than under thresholds. Fast humidity removal depends on mechanical ventilation sized for room volume and usage frequency. When planners follow these principles in sequence, every design decision serves a clear defensive purpose, from screw placement to fan run time. Skipping any one pillar compromises the other two, allowing microscopic breaches to open wider paths for water.
Choosing Reliable Waterproof Materials
Material selection drives the success of Mold and Water Damage Prevention Bathroom Remodeling. Cement backer boards resist swelling under direct spray, while fiberglass-reinforced panels add stiffness that prevents crack formation. Liquid or sheet membranes bond over seams, forming seamless tubs that cradle the shower area. High-fill epoxy grout locks out water and stains, eliminating annual sealing chores associated with traditional sanded grout. Silicone caulk remains flexible against thermal movement, protecting corners and fixture edges where hard grout would fracture. When shopping, look for mold-inhibiting additives in paint and joint compound to create an extra safety layer for non-wet walls. Spending slightly more on proven products saves far more than the cost of replacing decayed studs later.
Suggested Moisture-Resistant Components
• Cement backer board for wet walls
• Liquid waterproofing membrane over entire shower pan and curb
• Sheet membrane on floor extending under vanity
• Epoxy grout for tile joints
• 100 percent silicone at all change-of-plane junctions
Ventilation and Humidity Control
Even the finest membranes need support from controlled airflow. An oversized fan removes steam before condensation collects on cold surfaces, but capacity must match the room’s cubic footage. For Mold and Water Damage Prevention Bathroom Remodeling, choose a fan that exchanges the room’s air at least eight times per hour and add a humidity sensor so it runs automatically until levels drop below fifty percent. Locate ducts to vent outside, not into attic space, or else moisture simply relocates overhead. Where possible, incorporate a modest operable window to provide passive drying and natural light. Balanced humidity avoids warping trim, curbs bacterial growth, and keeps glass free of persistent fog that obscures mirrors each morning.
Plumbing Integrity and Leak Testing
Plumbing missteps undermine every other defense. Secure fittings with quality thread seal or compression rings, then conduct a pressure test at one and a half times normal operating level for at least two hours before closing walls. During Mold and Water Damage Prevention Bathroom Remodeling, install isolation valves for each major fixture so future repairs can happen without draining the entire line. Surround supply and waste penetrations with gaskets or sealant sleeves, blocking capillary action that draws moisture through screw holes. Use stainless steel braided connectors rather than rubber hoses to resist bursting. Finally, verify shower pan weep holes remain clear after tile installation, allowing stray water to escape to the drain rather than accumulate under the mortar bed.
Maintenance Habits After Remodeling
Finishing construction does not end vigilance. Mold and Water Damage Prevention Bathroom Remodeling succeeds long term when homeowners adopt simple routines. Wipe down glass and tile after heavy use, run the fan during and twenty minutes after showers, and inspect caulk lines twice a year. Replace silicone at the first sign of peeling instead of waiting for gaps to widen. Monitor humidity with a small digital hygrometer kept on the vanity; readings above sixty percent signal that exhaust settings need adjustment. Clear hair and debris from drains to prevent standing puddles. Prompt attention to small issues keeps the entire waterproofing system operating at peak performance.
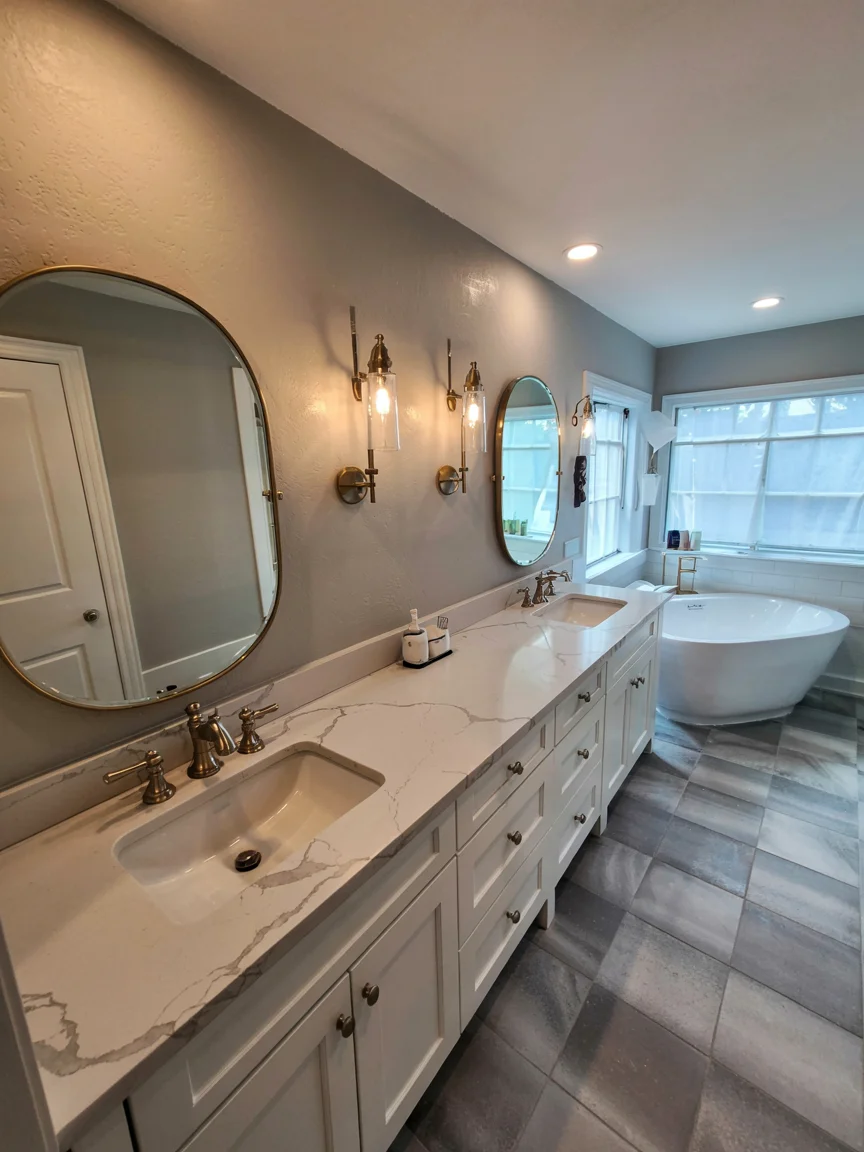
Conclusion and Call to Action
Preventing moisture intrusion and mold growth requires foresight, disciplined material choices, and daily maintenance, yet the reward is a bathroom that remains beautiful and healthy for decades. By following the principles laid out here, you transform a vulnerable space into a fortress against dampness. If you are ready to bring these strategies to life with professional skill and transparent guidance, schedule a free consultation with Evergreen Remodelers today and start your journey toward a truly dry, worry-free bathroom.