Why Waterproofing Your Shower Area Is Essential
A shower is one of the most water-intensive areas in your home, and without proper waterproofing, it can lead to significant water damage, mold, and mildew growth. Over time, water can seep through your walls and floors, causing rot, damage to your drywall, and a breeding ground for harmful mold. Waterproofing your shower area is one of the most important steps in ensuring the longevity and safety of your bathroom.
Waterproofing not only prevents structural damage but also helps maintain the aesthetic appeal of your bathroom. Without it, moisture can cause tiles to loosen, grout to degrade, and surfaces to deteriorate. The best way to avoid costly repairs and protect your home’s foundation is by investing in proper waterproofing techniques and materials.
Best Materials for Shower Waterproofing
When it comes to waterproofing your shower, choosing the right materials is critical. The materials you use will help create a barrier against water and moisture, preventing it from penetrating the walls and floor. Here are the top materials used for waterproofing shower areas:
Waterproof Membranes (Liquid and Sheet)
Waterproof membranes are one of the most effective ways to prevent water from reaching your shower’s underlying surfaces. There are two main types of waterproof membranes: liquid and sheet.
- Liquid Waterproof Membranes: These are applied as a coating and dry to form a seamless, flexible layer that prevents water penetration. Liquid membranes are ideal for complex shapes and custom shower areas where you need to cover corners, seams, and other tricky spots.
- Sheet Membranes: These come in rolls and are typically applied with an adhesive. Sheet membranes are easy to install and are particularly useful for large shower areas. They are known for their durability and strong resistance to water.
Both options work well for preventing water from seeping into your shower walls and floor, but liquid membranes are often preferred in custom shower designs due to their flexibility.
Cement Board vs. Drywall
When it comes to your shower walls, using the right backer board is essential for preventing water damage. Cement board (also known as cementitious backer unit or CBU) is the best choice for shower walls as it’s durable, moisture-resistant, and ideal for use with tiles.
- Cement Board: This is the most commonly used backer board for shower areas. It is highly resistant to water damage and won’t absorb moisture like drywall. Cement board also provides a strong, stable foundation for your tiles, ensuring that they stay securely in place over time.
- Drywall: Traditional drywall, while fine for most areas of your home, should never be used in shower areas. It absorbs moisture and can lead to mold growth, compromising the structure and appearance of your bathroom. Avoid using drywall in any shower or wet area.
Using cement board for your shower walls ensures that moisture won’t compromise the integrity of the wall structure, providing a solid foundation for tiles.
Waterproofing the Shower Floor
Waterproofing the shower floor is one of the most critical steps in protecting your bathroom from water damage. A well-waterproofed floor ensures that water won’t leak through to the subfloor or cause issues with tiles and grout.
Techniques for Waterproofing the Floor Before Tiling
Before laying your tiles, you must apply a waterproof membrane to the shower floor. This layer acts as a barrier to prevent water from seeping into the subfloor. The most common materials for waterproofing shower floors are:
- Waterproofing Membranes: Both liquid and sheet membranes can be used for the shower floor. Liquid membranes are often easier to apply, especially in custom shower areas, and they dry quickly, creating a seamless barrier. Sheet membranes can be more durable but may require more time to install.
- Preformed Shower Pans: These are ready-made, molded pans that are designed to fit into your shower area. Preformed shower pans are often made from materials like acrylic or fiberglass and come with integrated slopes for proper drainage.
Both options are excellent for waterproofing the shower floor, but if you’re working with a custom shower design, using a liquid membrane will ensure complete coverage and flexibility.
Importance of Slope and Drainage
When designing your shower floor, it’s important to ensure the floor is properly sloped towards the drain. This prevents water from pooling and ensures that moisture flows into the drain instead of collecting on the floor. Improper slope or drainage can lead to standing water, which increases the risk of mold and mildew growth.
A properly sloped shower floor also helps water flow more efficiently, making it easier to clean and maintain. If you’re installing a shower pan, ensure it has built-in drainage that leads directly to the floor drain.
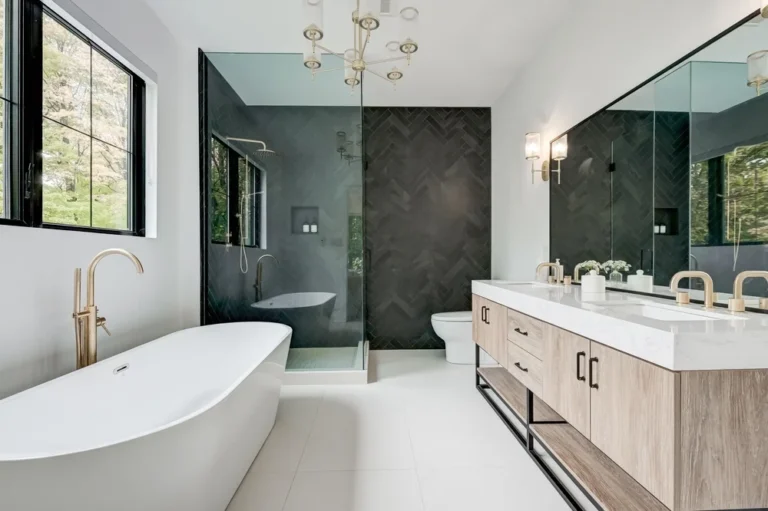
Waterproofing Shower Walls and Niche Areas
Waterproofing shower walls is essential to prevent water from seeping behind the tiles and causing damage to the structure. In addition to the walls, shower niches (or built-in shelves) require special attention to ensure they are fully sealed and waterproofed. Here’s how to effectively waterproof both areas:
Installing Waterproof Backer Board on Walls
For optimal waterproofing, it’s important to start with a solid foundation. Use cement board or fiber cement board for the shower walls. This material is moisture-resistant and durable, ensuring that water doesn’t penetrate behind the tiles. Cement board also provides a secure surface for tile adhesive, which helps tiles stay in place even in a wet environment.
If you’re applying waterproof membranes, ensure that they cover all wall surfaces before tiling. A liquid waterproof membrane can be brushed or rolled on, ensuring that all seams, corners, and edges are sealed properly. Sheet membranes can be cut to size and installed with an adhesive, ensuring a continuous waterproof layer across the walls.
How to Apply Waterproofing Membranes to Wall Surfaces
After installing the cement board, apply a waterproofing membrane to the entire shower wall. You can use a liquid membrane, which you simply apply with a brush or roller, ensuring even coverage on all surfaces, including corners and seams. It’s important to coat every joint and corner thoroughly, as these are the areas where water is most likely to seep through.
For sheet membranes, cut the sheets to fit the walls and attach them with adhesive. Ensure there are no gaps, as even the smallest opening can allow moisture to penetrate.
If you’re dealing with a custom shower with complicated shapes or tight corners, a liquid membrane will offer more flexibility and can easily be molded to fit these areas.
Protecting Niche Areas and Corners from Water Damage
Shower niches and corners are notorious for trapping water, which can lead to mold and mildew growth if not properly waterproofed. When installing a niche or built-in shelf in the shower, it’s important to ensure the back, sides, and bottom are all sealed with waterproofing material. Apply the waterproof membrane to the entire surface of the niche, including the back and sides. If you’re using sheet membranes, make sure to apply adhesive around the edges of the niche to create a seamless, waterproof seal.
Similarly, pay extra attention to the corners where walls meet. These areas are vulnerable to water infiltration, so be sure to apply additional layers of waterproofing to the corners to keep them watertight.
Waterproofing for Tile Showers: Grout and Sealant Tips
When it comes to tile showers, the grout between tiles is another potential weak point that can allow water to seep behind the tiles if not properly sealed. Sealing the grout and tiles is crucial for long-term waterproofing.
Choosing the Right Grout for Waterproofing
Not all grout is created equal. For wet areas like showers, you should choose epoxy grout or cement-based grout with a waterproof additive. Epoxy grout is more resistant to water and stains, making it a great choice for shower areas. It also doesn’t require sealing, unlike traditional cement grout, which can absorb water over time.
If you opt for traditional cement-based grout, be sure to mix it with a waterproof additive or use a grout that is specifically designed for use in wet areas. This ensures the grout won’t absorb moisture and compromise the waterproofing of the shower.
How to Seal Grout and Tiles Properly
Once the grout has been applied and has had time to cure, the next step is to seal it. Sealing the grout prevents moisture from seeping into the grout lines, which can lead to mold growth and staining.
To seal your grout, use a grout sealer designed for wet areas. Apply it with a small brush or applicator, making sure to cover all grout lines. Wipe away any excess sealer to avoid leaving a residue on the tiles.
In addition to sealing the grout, it’s also important to apply a waterproof sealer to the tiles themselves. Some tiles, such as natural stone tiles, are porous and can absorb water, so sealing them will provide an extra layer of protection. For ceramic and porcelain tiles, a sealer may not be necessary, but it can help make cleaning easier and protect the surface from stains.
Tips for Maintaining Grout Seals and Preventing Leaks
Maintaining your grout seals is key to ensuring long-term waterproofing. Over time, grout can become worn or damaged, which can compromise its ability to keep moisture at bay. Check your grout regularly for cracks or chips, and reapply sealant as needed. Cleaning grout with mild cleaners and avoiding harsh chemicals can also help preserve the sealant and prevent damage.
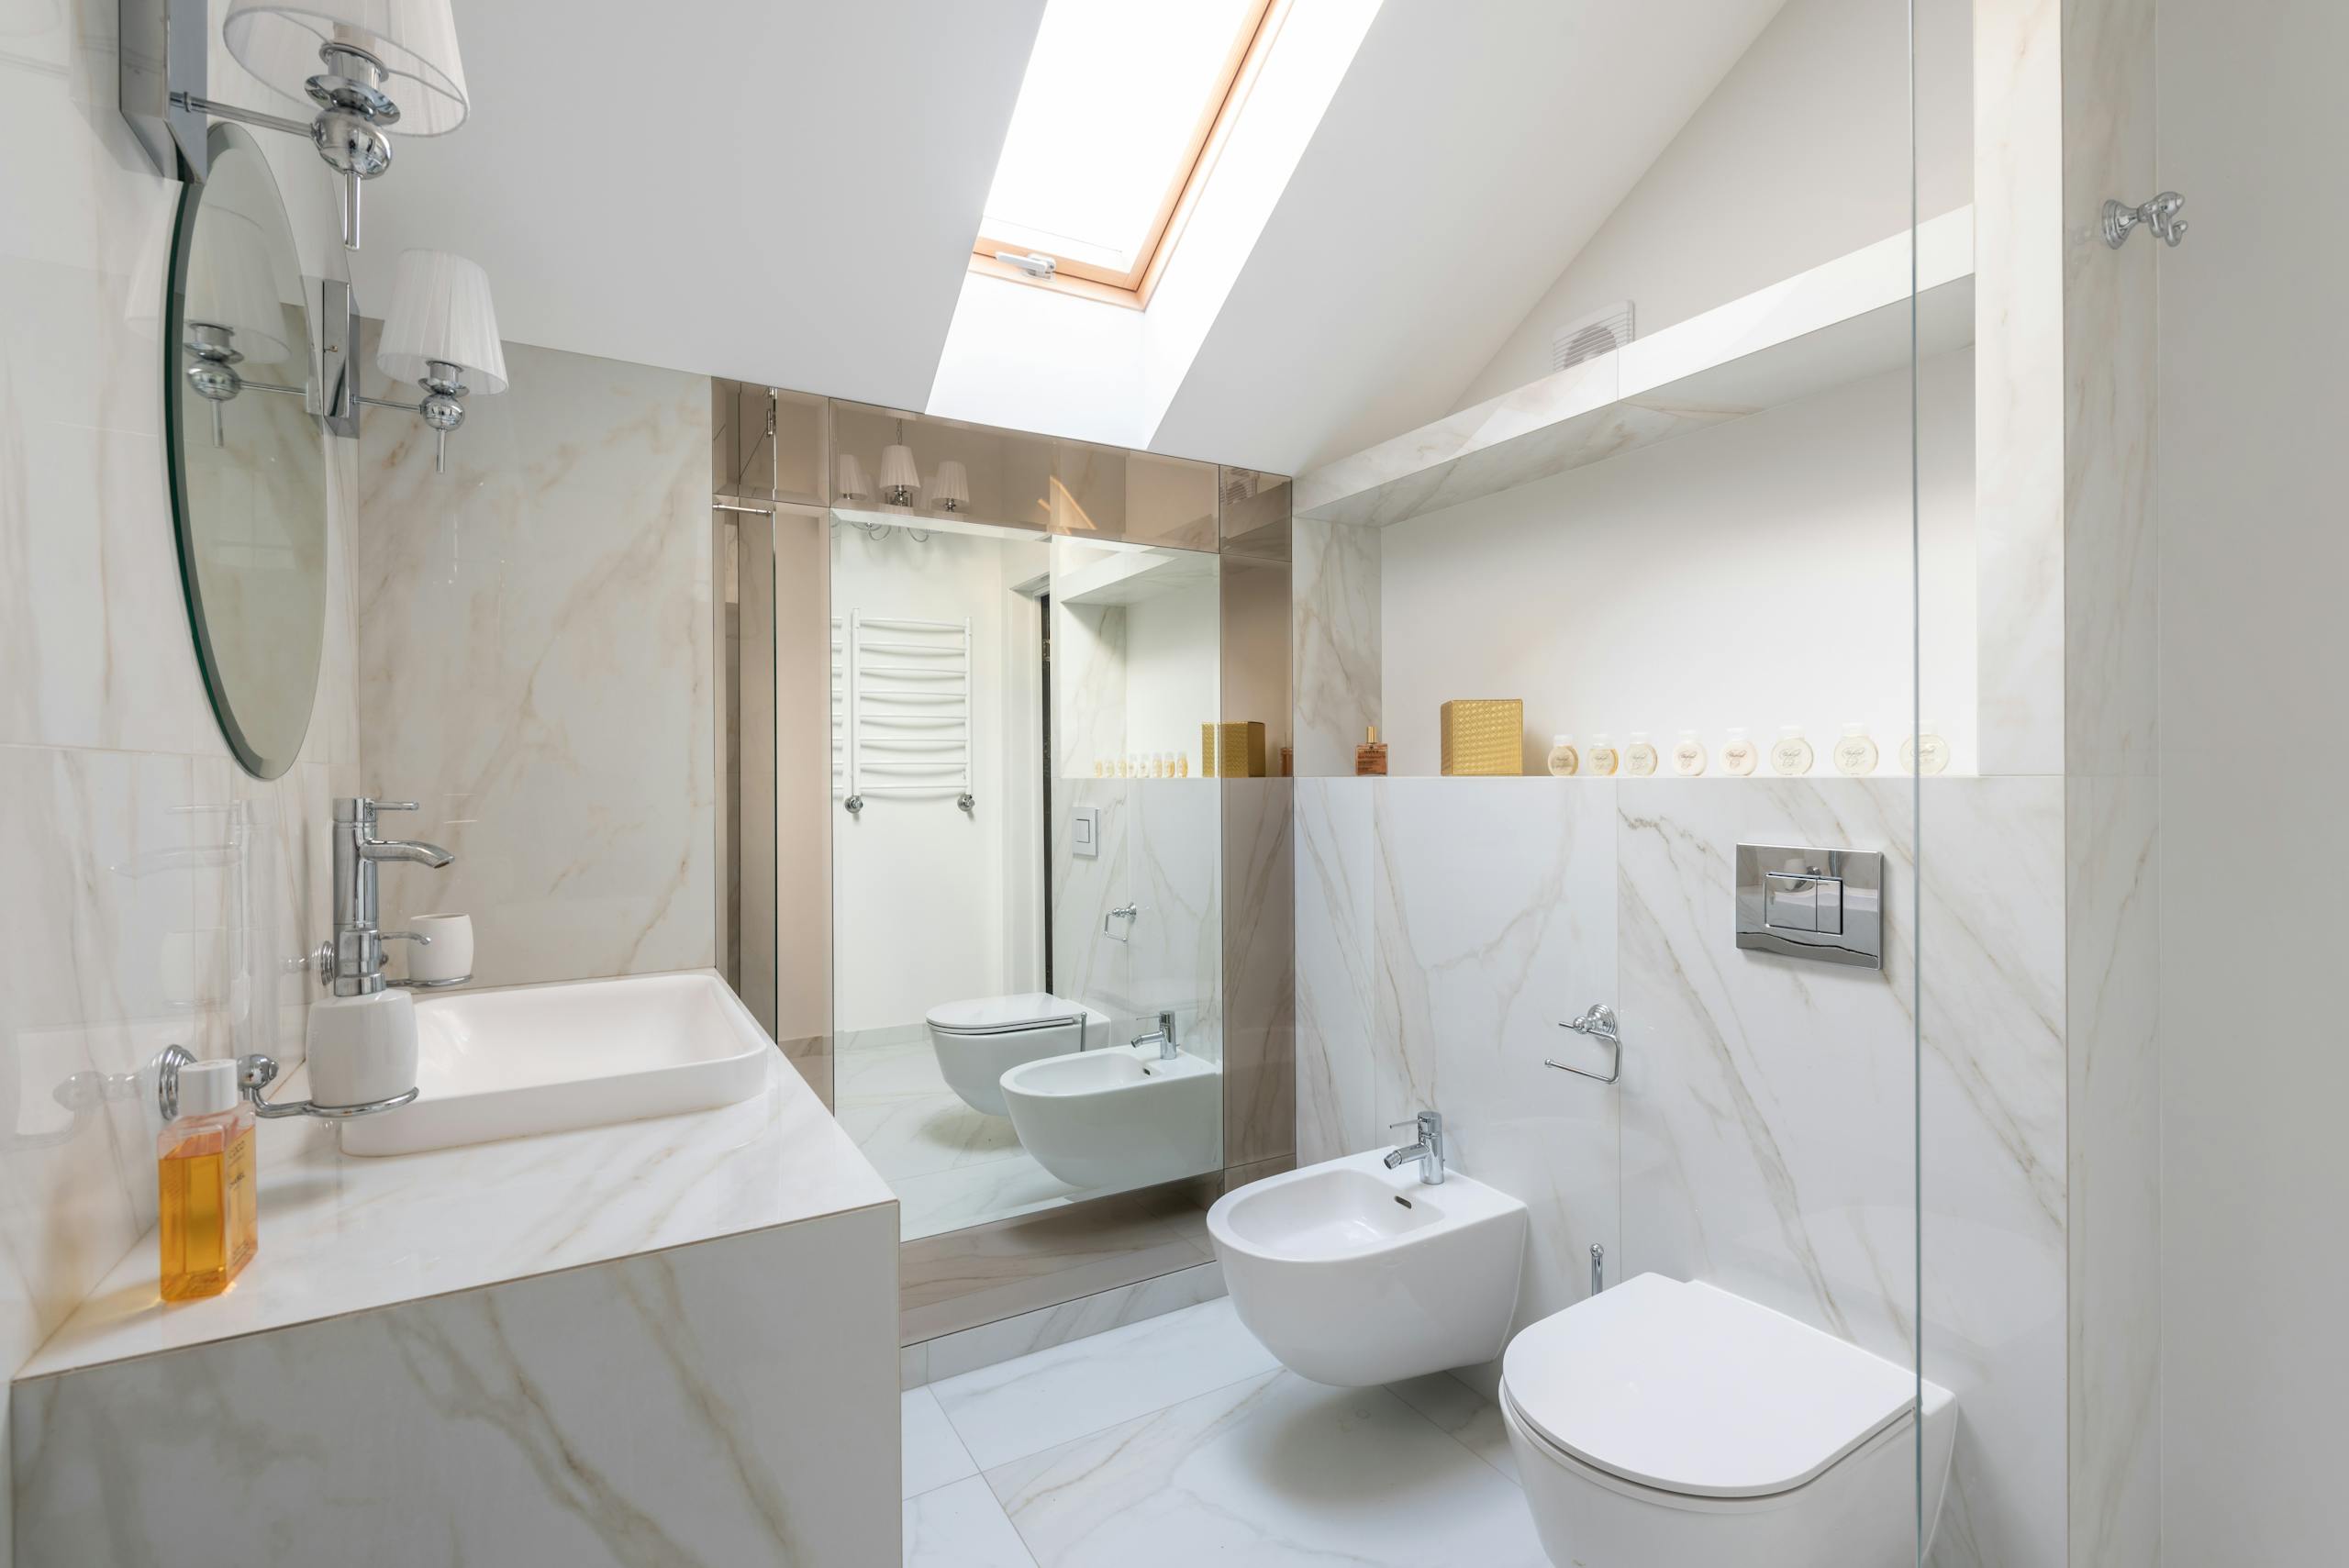
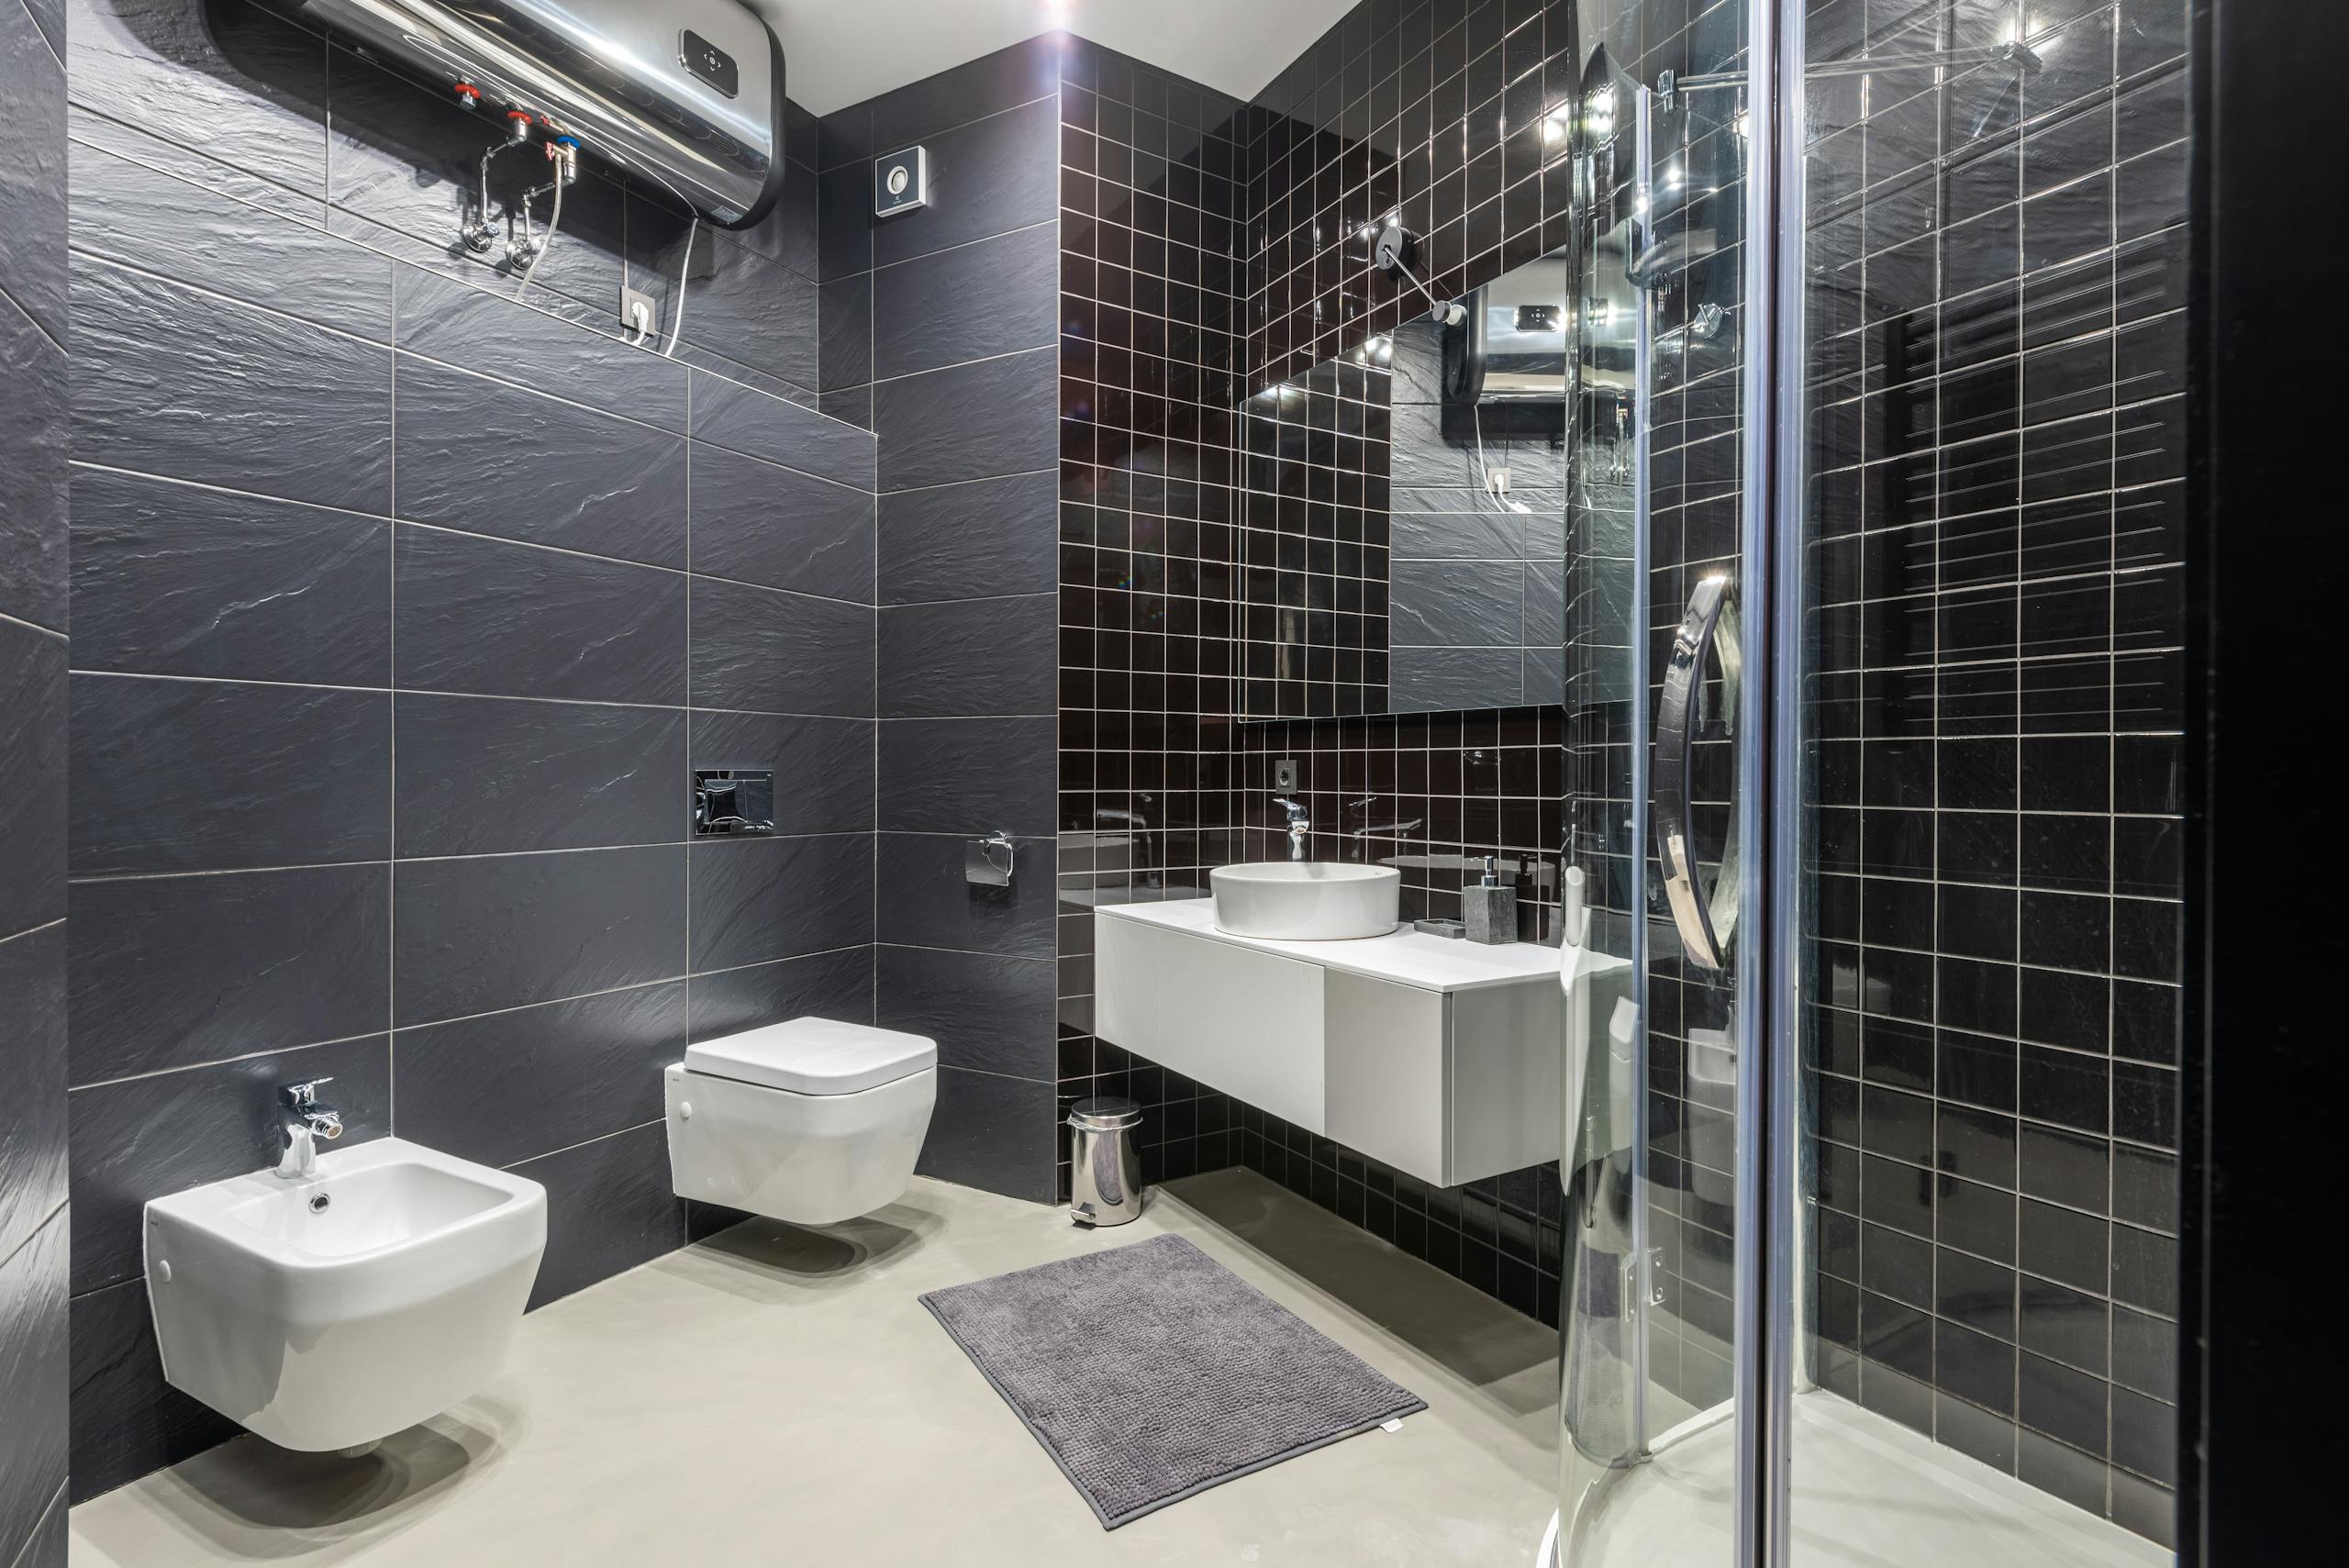
Shower Door Waterproofing
Shower doors are another area where water leaks can occur if not properly sealed. A leaky shower door can lead to water spilling onto the floor outside the shower, causing potential water damage and creating a slipping hazard.
Preventing Water Leakage Around Shower Doors
To prevent water leakage around shower doors, ensure that the door is properly sealed along the edges. Use waterproof silicone sealant around the edges of the door frame to create a tight, watertight seal. Be sure to apply the sealant evenly, paying special attention to any gaps or seams in the door frame.
Another tip is to install magnetic shower door seals along the edges of the door. These magnetic seals help keep the door tightly shut, preventing water from escaping when the shower is in use.
Tips for Sealing Shower Doors and Frames
When sealing the shower door and frame, use high-quality, mold-resistant silicone sealant. Apply it along the edges of the door frame, ensuring a continuous seal from top to bottom. Make sure to wipe away any excess sealant before it dries, as it can create a messy finish if left unchecked.
If you notice water seeping through the door after use, check for worn-out seals and replace them as needed. Regular maintenance of the door seals will ensure that water stays inside the shower and doesn’t cause damage to the surrounding area.
DIY vs. Professional Waterproofing: What’s Best for Your Shower Area?
When it comes to waterproofing your shower area, you might wonder whether to tackle the job yourself or hire a professional. While DIY waterproofing can save money, professional waterproofing often ensures long-lasting results and avoids costly mistakes. Here’s a comparison of both approaches:
Pros and Cons of DIY Waterproofing
Pros:
- Cost Savings: DIY waterproofing can be significantly cheaper than hiring a professional, especially if you already have some experience with home improvement projects.
- Flexibility: Doing it yourself gives you control over the materials and design, allowing you to choose exactly what you want for your shower area.
- Satisfaction: Completing the project yourself can be satisfying, and it gives you a sense of accomplishment once the waterproofing is done.
Cons:
- Risk of Mistakes: Waterproofing is a precise task, and if done incorrectly, it can lead to water damage, mold growth, and expensive repairs. Mistakes like not applying the waterproof membrane evenly or missing key areas can result in leaks.
- Time-Consuming: Waterproofing requires careful preparation and attention to detail, which can be time-consuming for beginners.
- Lack of Expertise: If you’re not experienced in waterproofing, it’s easy to miss important steps or use the wrong materials, which can compromise the quality and longevity of your shower waterproofing.
When to Hire a Professional
Hiring a professional for waterproofing can give you peace of mind that the job will be done correctly. Professionals are trained to identify potential problem areas, use the right materials, and apply waterproofing membranes and sealants properly. If your shower has unique challenges, like custom niches, complex floor plans, or plumbing issues, a professional waterproofing expert will ensure that the job is done properly.
Additionally, if you’re concerned about leaks or mold growth in your bathroom, professional waterproofing can provide you with long-term protection, ensuring the durability of your bathroom and preventing potential damage down the line.
Common Mistakes to Avoid When Waterproofing Your Shower
Waterproofing a shower requires attention to detail, and even small mistakes can lead to big problems. To ensure your shower area is properly waterproofed, avoid these common mistakes:
1. Inconsistent Application of Waterproofing Materials
One of the most frequent errors is applying waterproofing materials unevenly. Whether you’re using a liquid membrane or a sheet membrane, it’s important to coat all surfaces uniformly to prevent water from seeping through. Be sure to cover every corner, joint, and niche to ensure a complete waterproof barrier.
2. Not Addressing Corners, Niche, and Edges Properly
The corners, edges, and niche areas of a shower are highly vulnerable to leaks. These areas need extra attention when applying waterproofing materials. If you’re using a liquid membrane, make sure to apply additional layers in these critical areas. If you’re using sheet membranes, ensure that they are properly cut and adhered at the corners, where water is most likely to collect.
3. Using the Wrong Waterproofing Products
Not all waterproofing products are suitable for shower areas. Be sure to use waterproof membranes, grouts, and sealants designed specifically for wet areas. Avoid using regular wall paint, basic grout, or low-quality sealants, as these can break down over time and fail to protect your shower.
4. Skipping the Drying and Curing Time
Proper drying and curing times are essential when waterproofing your shower. Rushing through the process or applying the next layer before the previous one has dried properly can cause issues. Always follow the manufacturer’s instructions regarding drying times for each product, and give the waterproofing materials time to cure before proceeding with tiling or other finishes.
Waterproofing Tips for Walk-In Showers and Wet Rooms
Walk-in showers and wet rooms, where the entire space is designed to get wet, require extra consideration when it comes to waterproofing. In these open-concept spaces, there’s no traditional shower enclosure to contain water, so ensuring every surface is waterproofed properly is crucial.
1. Using Seamless Waterproofing Systems
For walk-in showers and wet rooms, consider using seamless waterproofing systems, such as liquid-applied membranes, which create a continuous, waterproof barrier. These systems eliminate seams and joints that could allow water to leak through. They also offer more flexibility, which is ideal for large, open shower areas.
2. Waterproofing the Entire Shower Area
In a walk-in shower or wet room, waterproofing should extend across the entire floor, walls, and ceiling (if applicable). Don’t just focus on the shower area itself—water can splash outside of the designated wet zone. Ensure that the entire floor and walls are sealed, especially if the shower area is open to the rest of the bathroom.
3. Proper Drainage and Floor Slope
Proper drainage is essential in walk-in showers and wet rooms. The floor should be sloped toward the drain to prevent water from pooling. In wet rooms, the slope should be gentle yet sufficient to ensure water flows toward the drain, avoiding standing water that could lead to mold growth. A well-designed drain system with adequate flow will keep the room dry and prevent water from reaching areas it shouldn’t.
Conclusion: How to Waterproof Your Shower Area
Waterproofing your shower area is essential for preventing water damage, mold, and mildew. By using the right materials and techniques, you can ensure that your shower area remains safe, functional, and stylish for years to come. Whether you’re tackling a DIY project or hiring a professional, make sure to follow proper waterproofing steps, apply materials evenly, and address all critical areas such as corners, niches, and the shower floor.
With the right approach, you can create a long-lasting, waterproof shower area that keeps moisture at bay and protects the integrity of your bathroom.
Contact Us for a Free Consultation
Are you ready to waterproof your shower area and protect your bathroom from water damage? Our team of experts can help you choose the right materials and techniques for a durable, mold-free shower. Contact us today for a free consultation, and let’s ensure your shower is waterproofed correctly from the start.